By following this tutorial you'll learn how to create a cute fox illustration in Adobe
Illustrator. Using basic shapes, stylish colors and the Warp Effect
tool, you can create a charming cartoon character in a retro style. This
is a great project for beginners! Let's get started.
1. Creating the Head and Face
Step 1
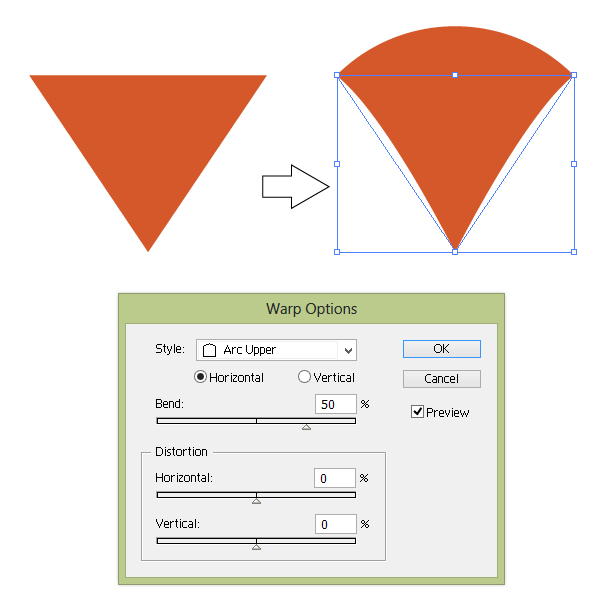
First we are going to create the head. Take the Polygon Tool and click on your workspace. A new dialogue window will ask you how many corners and what radius you want. Make 3 corners and any radius you want. Then click OK. Once you have a triangle, fill with color R=212, G=88, B=42. Now we need to adjust the Warp options (Effect > Warp > Arc Upper) as shown in the image below.
Step 2
Copy the triangle and paste it on the back (Control-C, Control-B), then change the color to R=233, G=218, B=194. Change the Arc Upper to Bulge (Effect > Warp > Bulge):
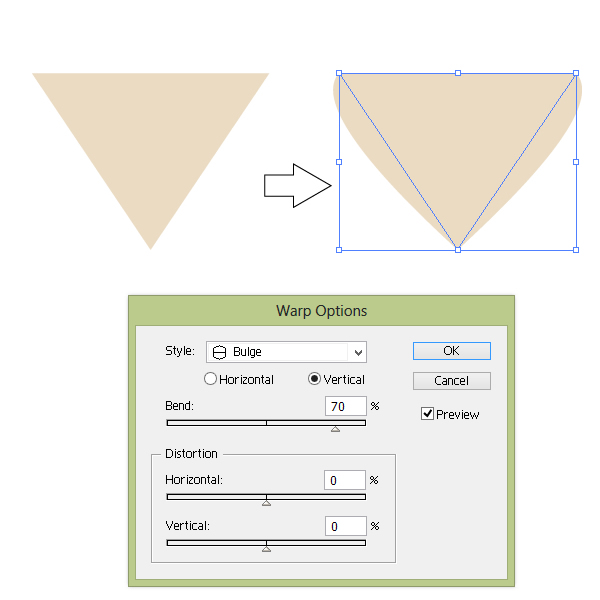
Step 3
You should have the following base shape for the head:
Step 4
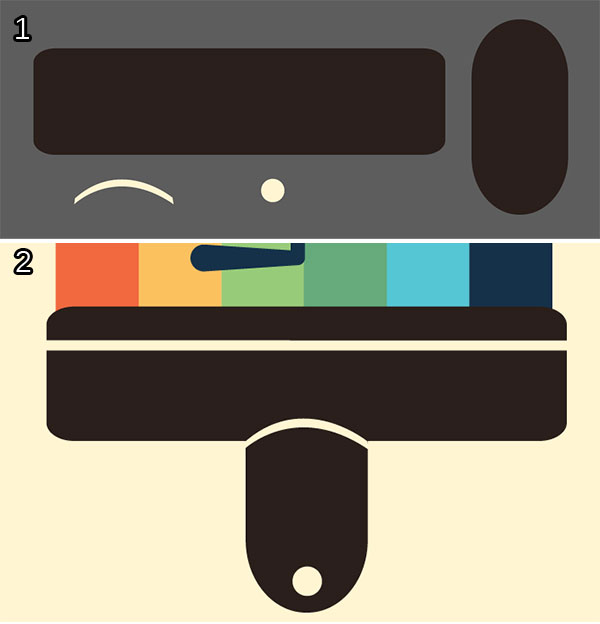
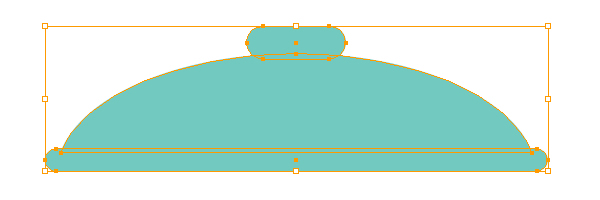
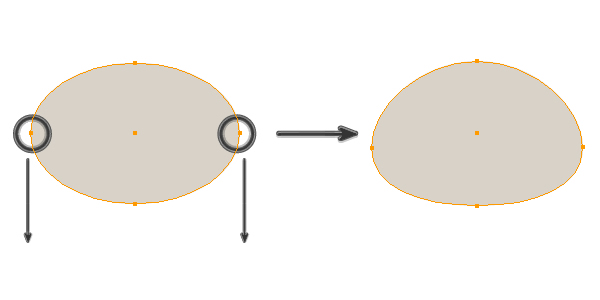
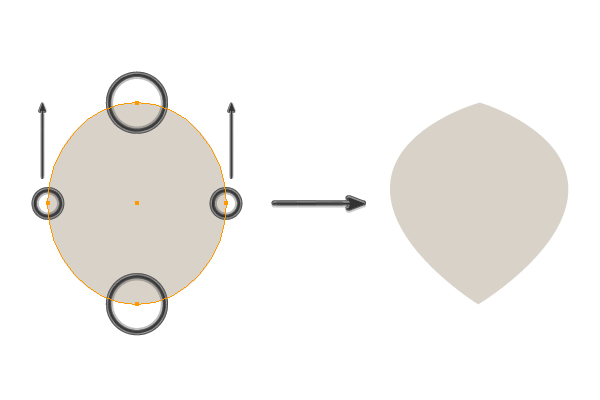
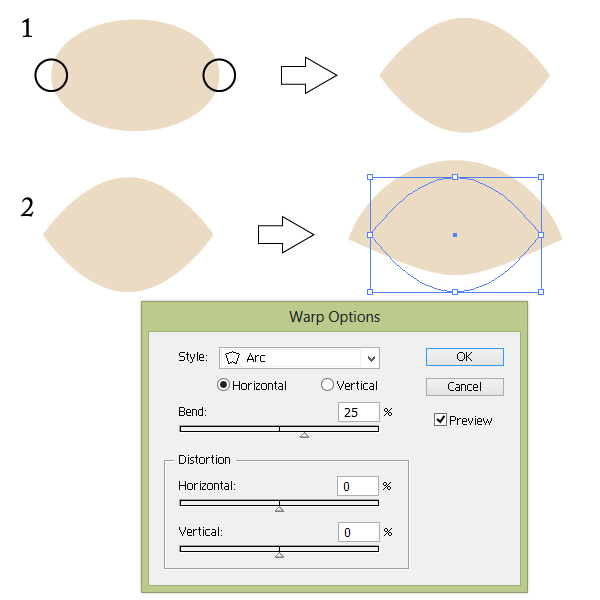
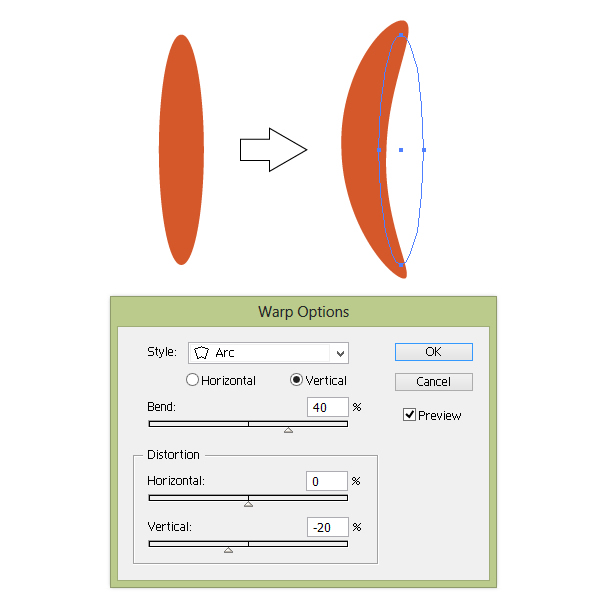
Keep the same fill color. Using the Ellipse Tool (L), draw an oval. Pick the Convert Anchor Point Tool (Shift-C) and simply click on the left anchor point of the oval and then the right anchor point. After that, adjust the Warp options (Effect > Warp > Arc) as shown in the image below.
Step 5
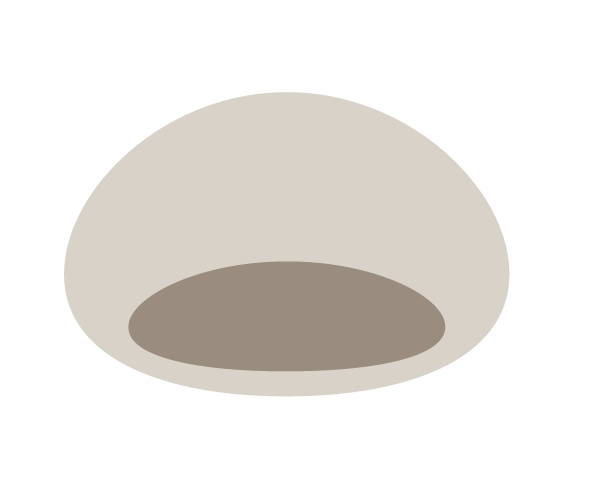
Place the shape you've just created behind (Control-X, Control-B) the shape created in Step 3.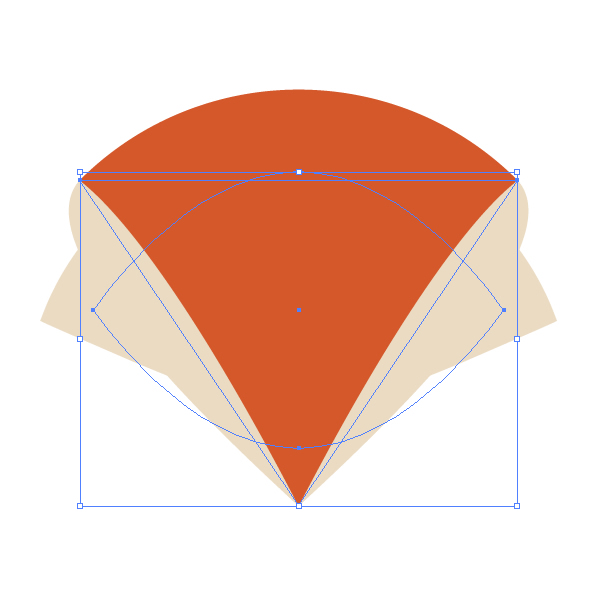
Step 6
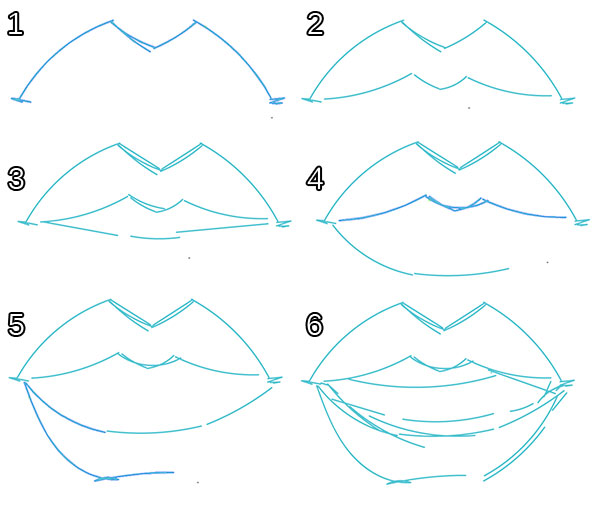
Now, we will create the eyes and the nose. Using the Ellipse Tool (L), create small circle and set the color to R=70 G=62 B=55. To make nice round circle, hold the Shift key while you’re creating the circle. Using copy-paste, make three circles. Place them accordingly like the image below.

Step 7
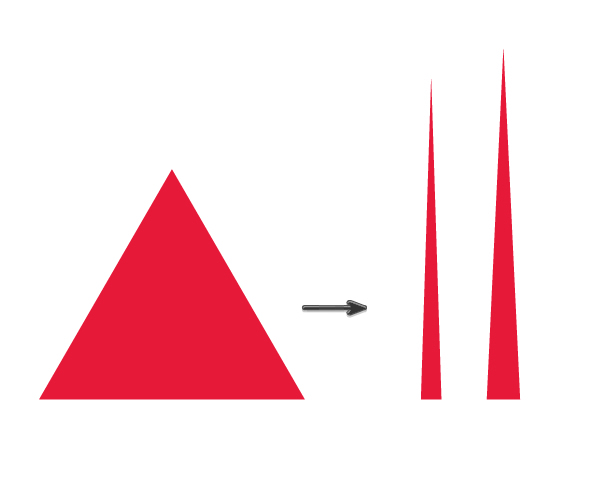
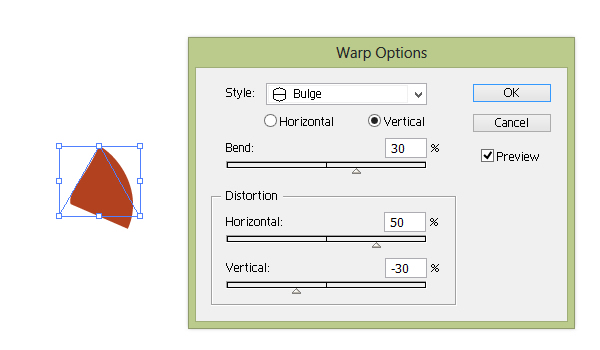
Now, the ears. First, we will create the right ear. Using the Polygon Tool, create a triangle and set the color to R=212 G=88 B=42. Adjust the Warp options (Effect > Warp > Bulge) as shown in the image below.
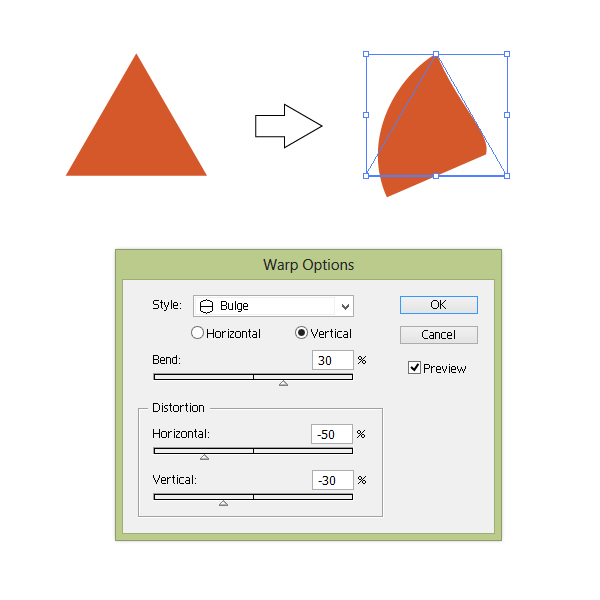
Create a copy of this triangle with the same Warp options. This will be the inner part of the ear, so you need to make it smaller and darker (color R=178 G=66 B=31).

Step 8
Now, the left ear. Use the image below to get an idea of how the left ear should look.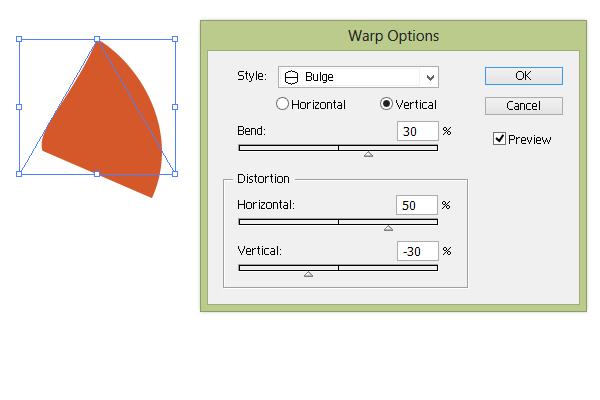
Step 9
Put the ears together and then place them on the head of the fox. Send them to the back (Control-X, Control-B) so that they sit behind the head.

2. Create the Body
Step 1
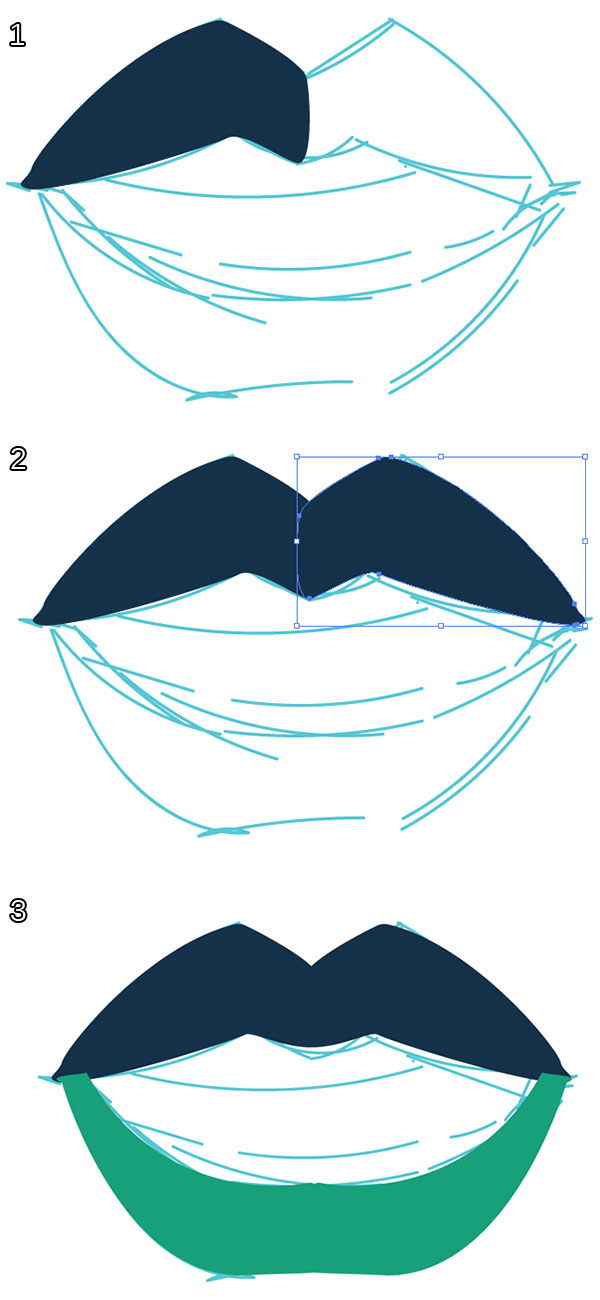
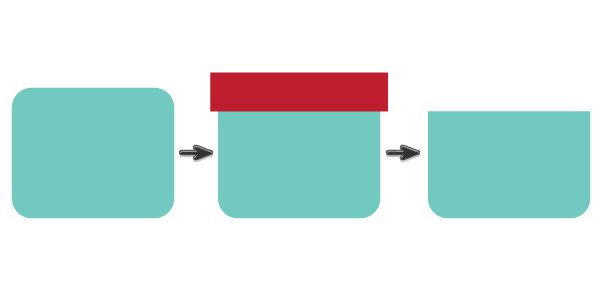
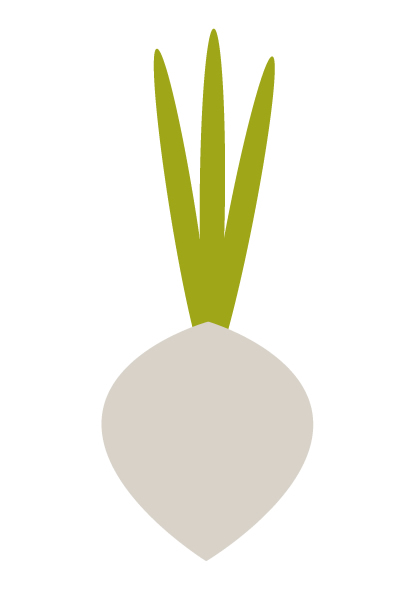
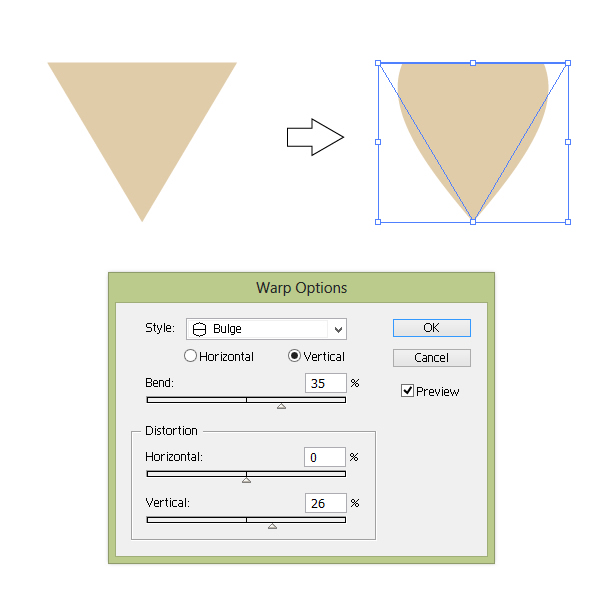
Now we are going to create a white fur neck under the head of the fox. Draw a triangle with fill color R=224 G=204 B=169. Adjust the Warp options (Effect > Warp > Bulge).
Step 2
Create a triangle (color R=42 G=148 B=68) with Bulge. This will be the body.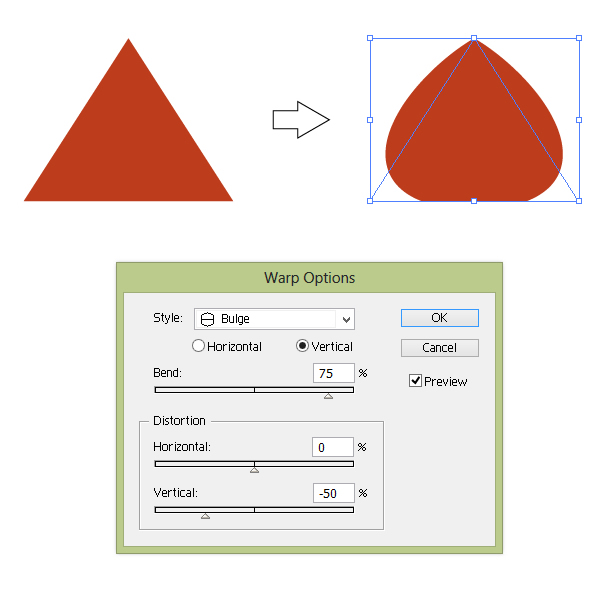
Step 3
Put all the parts together. Don't forget to place the head in the front of the body.
3. Creating the Legs and Paws
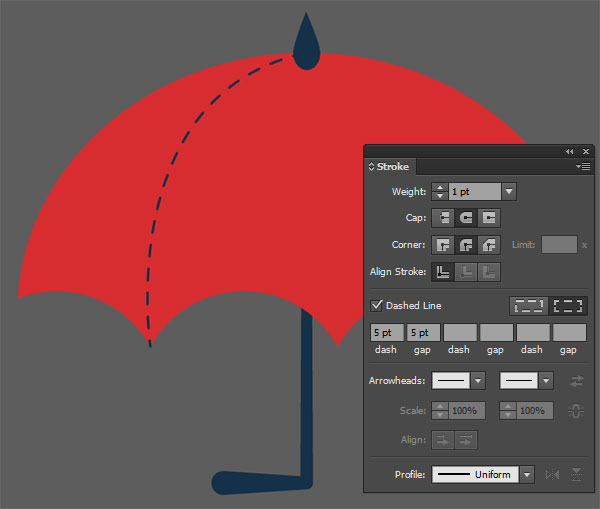
Step 1
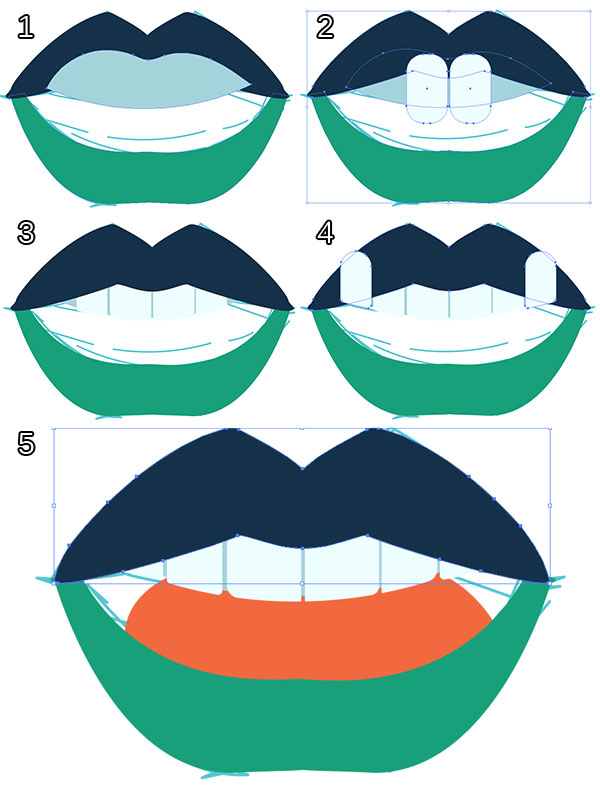
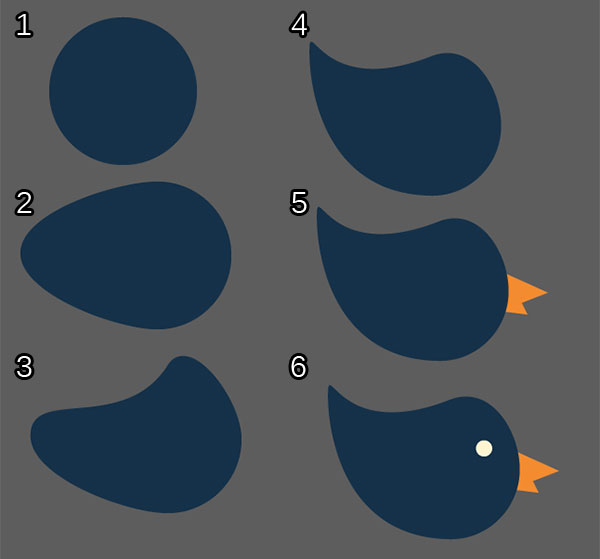
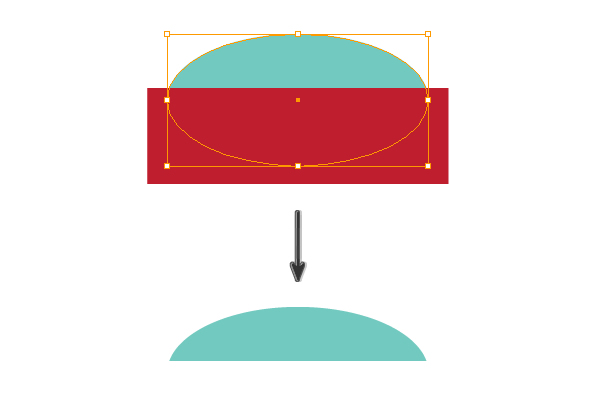
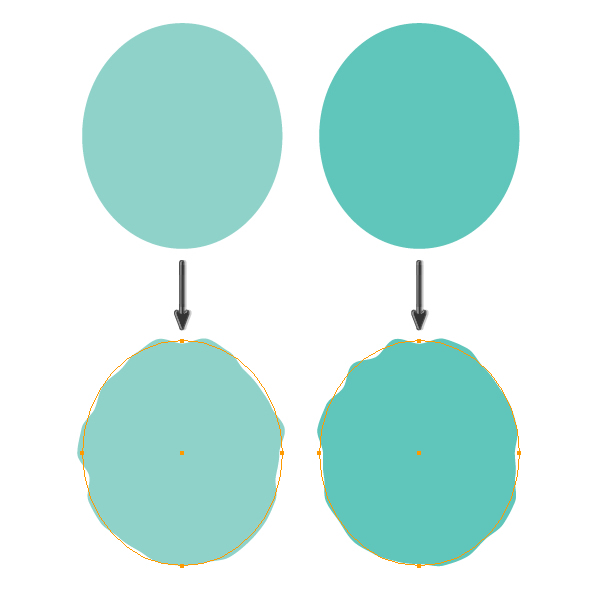
We'll start by creating the fox's leg. Make an oval with fill color R=212 G=88 B=42. Select Arc in the Warp Options window. After that, expand this figure (Object > Expand Appearance).
Step 2
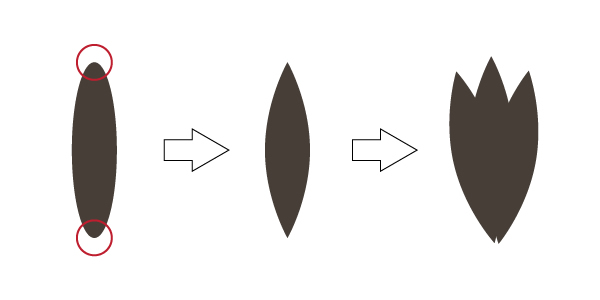
Draw an oval with color R=70 G=62 B=55. Pick the Convert Anchor Point Tool (Shift-C) and simply click the top and bottom anchor points of the oval; this will make the end points pointy. Copy-paste to create two duplicates of this shape and put them together as shown below. Then go to the Pathfinder panel and press the Unite button. Now you have one shape. Make one more copy of this shape and keep it for later. I will let you know when you need it!
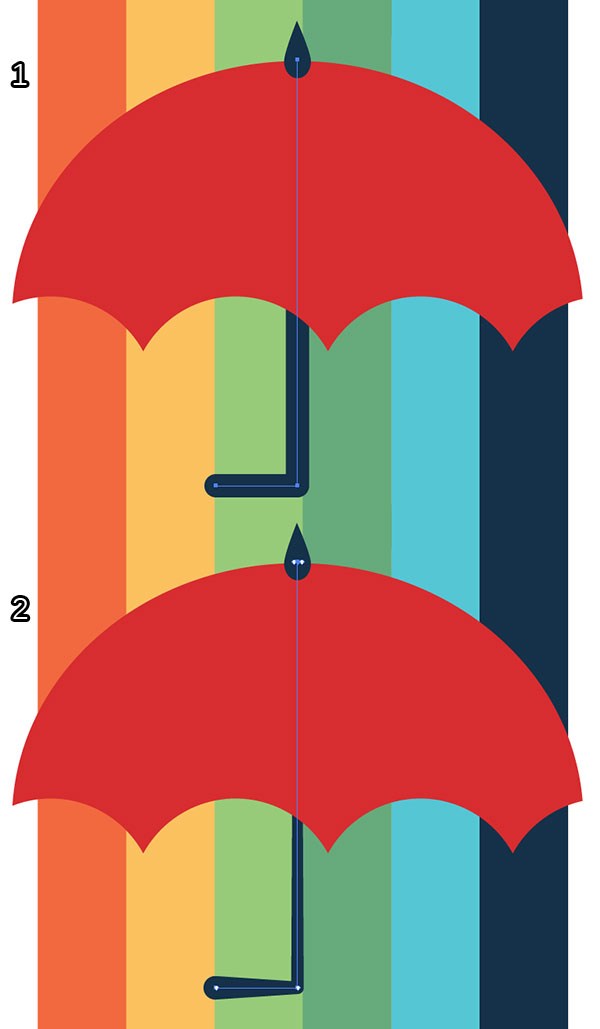
Step 3
Select
the shape that was created in the previous step and put it on the tip
of the arm to create the paw. After that, make one more copy of the paw (Control-C, Control-F). Holding the Shift key, select the dark gray shape and the new copy of the paw together. Go to Pathfinder panel and press the Intersect button.

Now right-click your mouse and select Transform > Reflect. In the window that appears, check Vertical axis of reflection, make sure that it is set to 90 degrees and press Copy. Now you've got the second arm.

4. Putting All the Parts Together
Step 1
Simply place everything together, as shown in the image below. Your fox is really coming together!

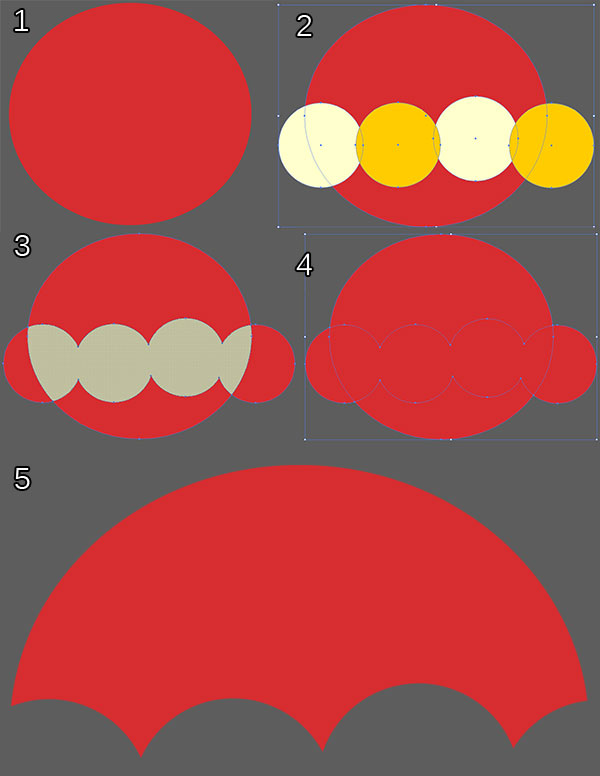
5. The Tail
Step 1
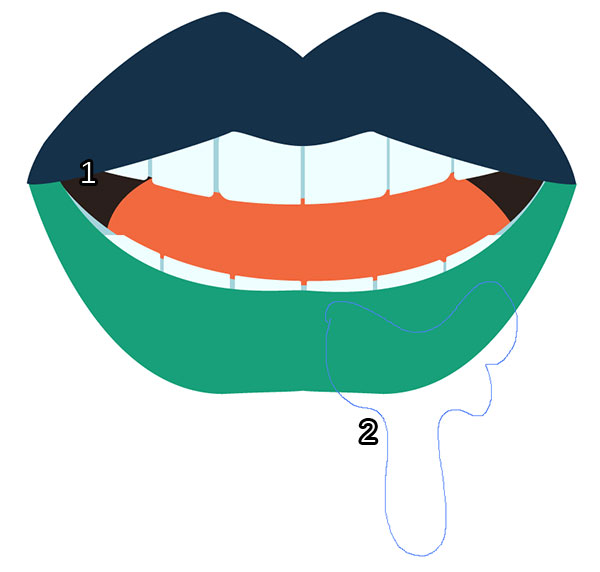
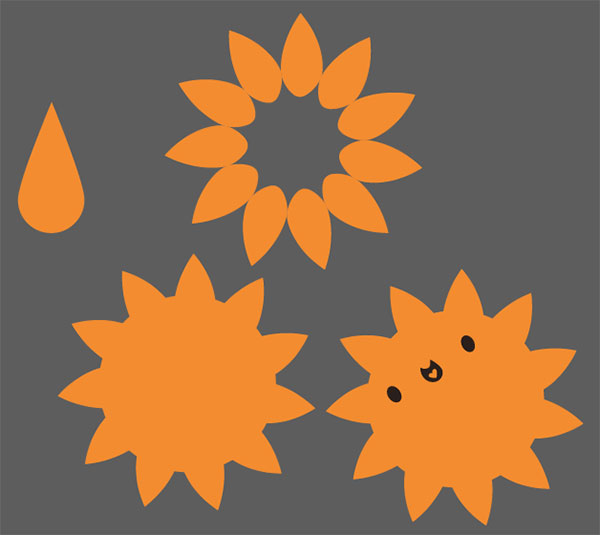
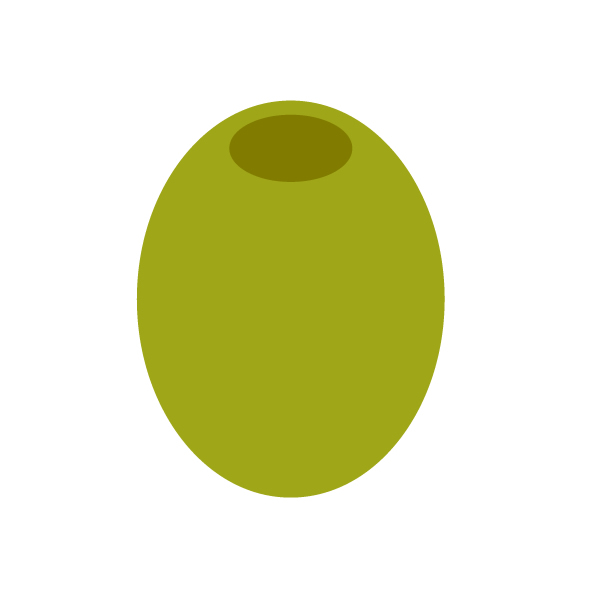
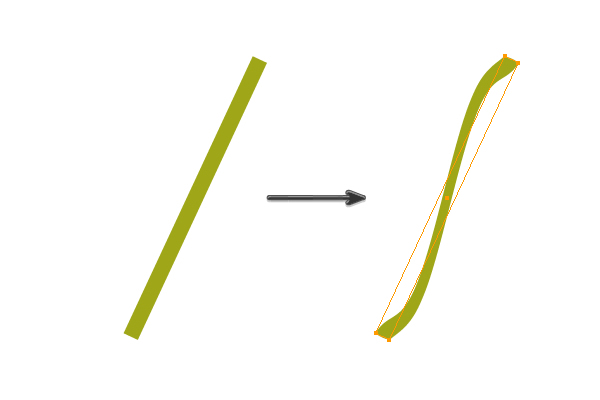
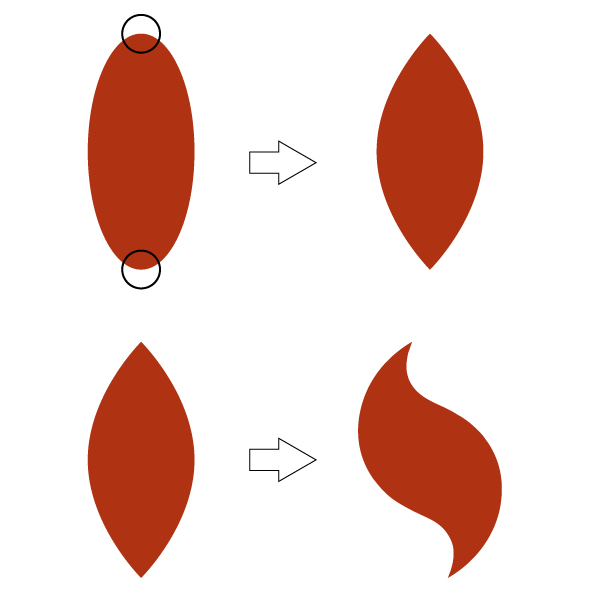
Create an oval with fill color R=175 G=51 B=18. Make pointy ends on the oval, using the technique shown in previous steps. Then go to Effect > Distort and Transform > Twist. Once the window pops up, choose -100 degrees and press Okay. Expand the appearance (Object > Expand Appearance).
Step 2
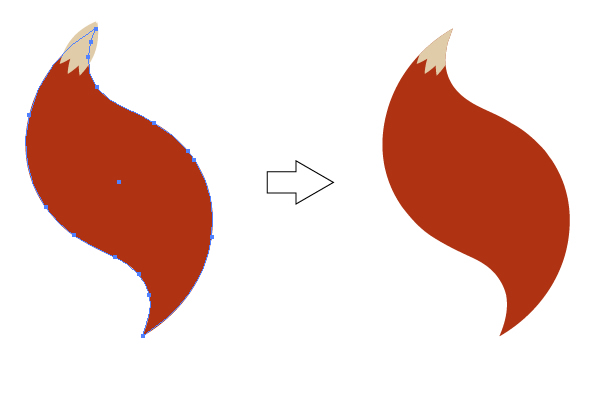
Remember
the copy of the fox's paw that you created in step 3.2? I asked you to
keep it for later—now it's time! Change the color to R=224 G=204 B=169 and place it on the tail. Make another copy of the tail (Control-C, Control-F). Keep this copy selected and, holding the Shift key, select the light brown shape. Now press the Intersect button on the Pathfinder panel.
Step 3
Place the tail behind the body. Look how cute it is!
6. Decorations
Step 1
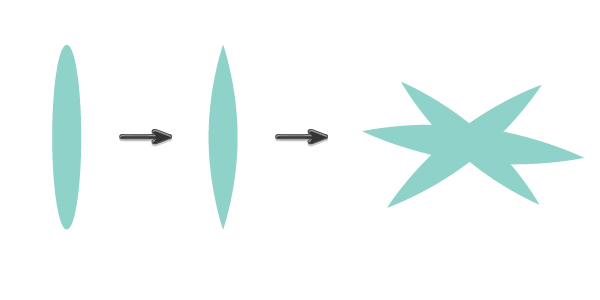
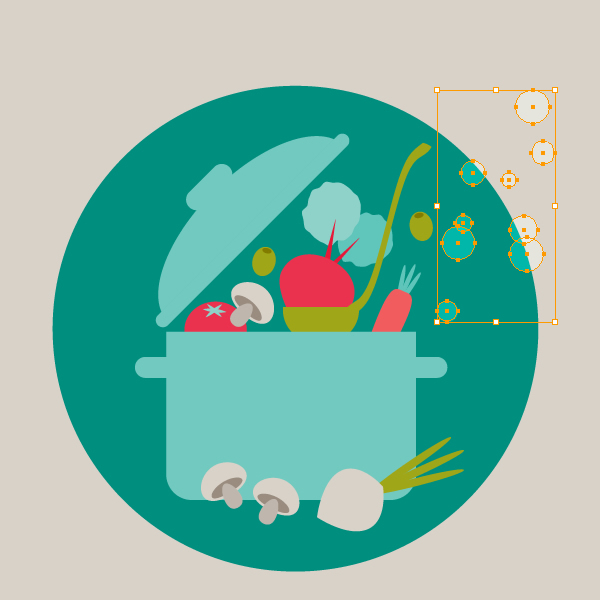
We will be using circles and pointy ovals to create flowers.The color of the petals on the first flower is R=229 G=211 B=182. The color of the middle circle is R=235 G=212 B=103. The color of the leaves is R=97 G=108 B=67.
The color of the petals on the second flower is R=60 G=94 B=76. The color of the middle circle is R=88 G=52 B=56. The color of the leaves is same as the first flower.
The color of the petals on the third flower is R=73 G=117 B=95. The color of the middle circle is the same as the second flower.
Group every flower with leaves (Right-Click > Group).

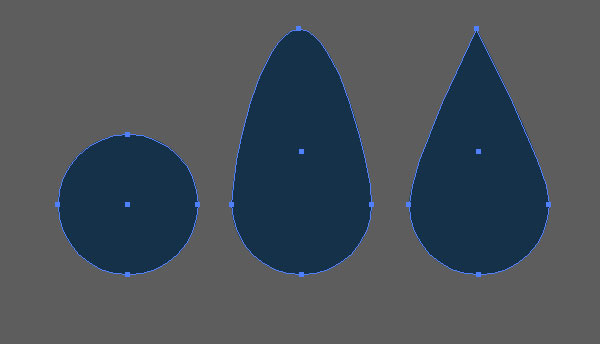
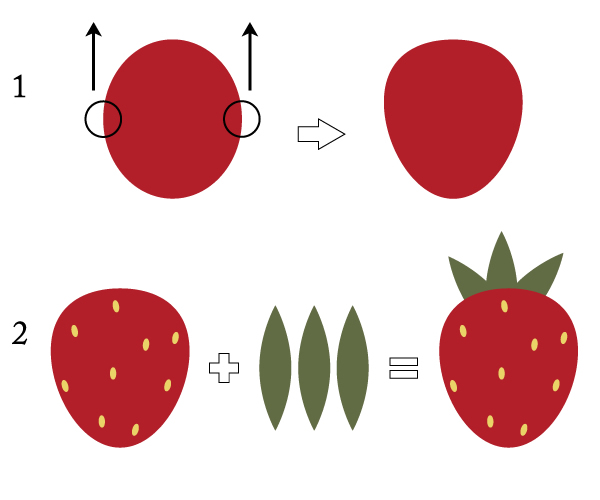
Step 2
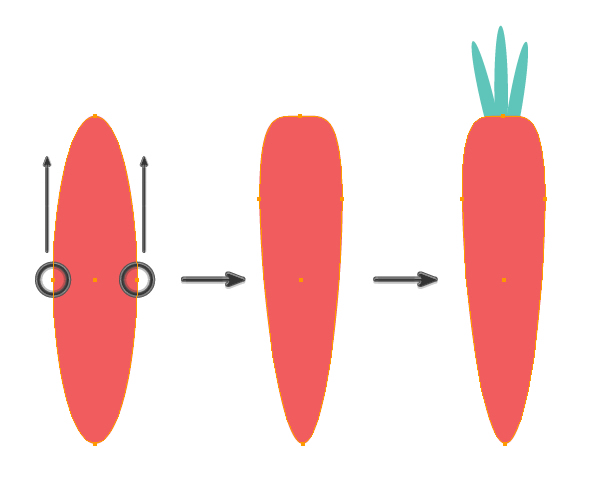
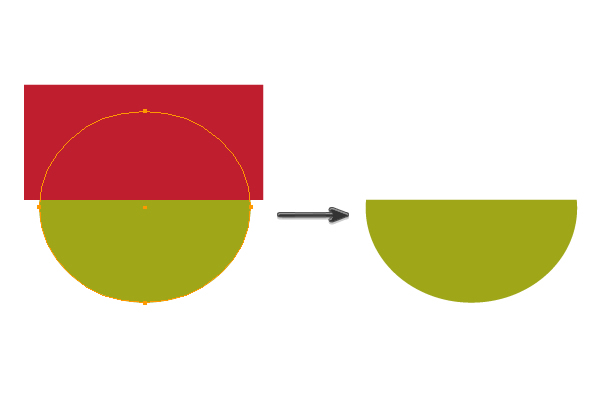
We will now create a strawberry. Draw an oval with color R=178 G=31 B=41. Pick the Direct Selection Tool (A) and select the left and right anchor points. Shift them up. Then, draw tiny yellow ovals (R=235 G=212 B=103) and spread them over the red oval. Add three leaves (R=97 G=108 B=67). Group the whole strawberry together (Right-Click > Group).
7. Background
Step 1
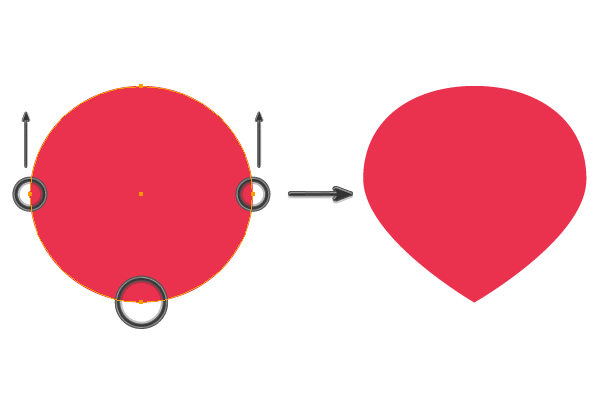
Behind the fox create a large circle (R=114 G=147 B=118). Place the flowers and strawberries on the edge of the circle to create a frame.
8. Final Touches
Step 1
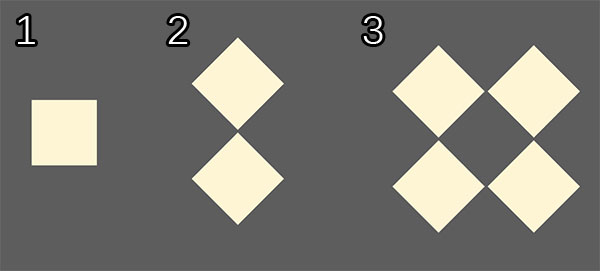
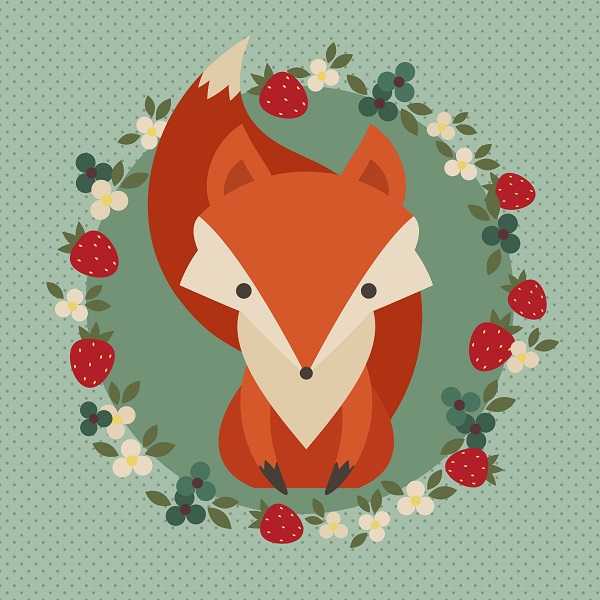
Draw a square with the fill color R=166, G=191, B=170 and size 600px both width and height. Place it behind everything.

Step 2
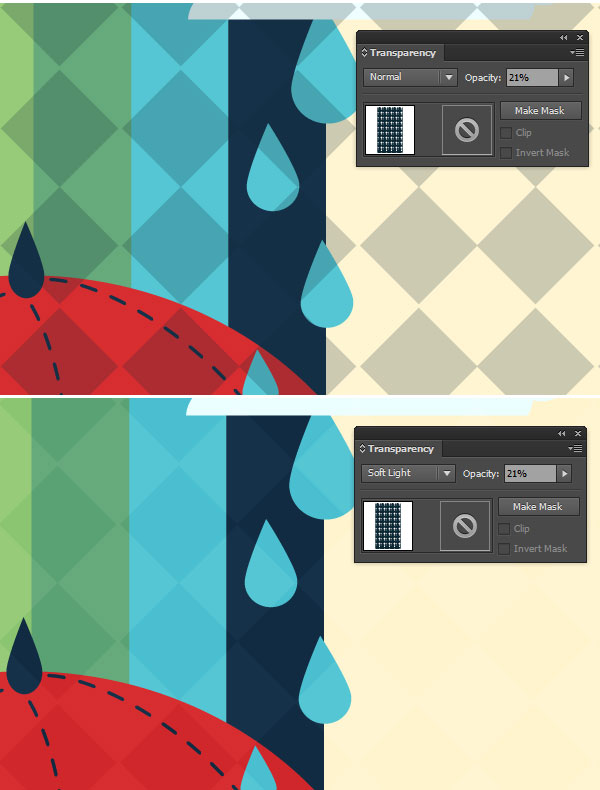
Look at the Appearance panel. Click on the tiny triangle in the top right corner and in the pop-up menu select Add New Fill. Now open a new Swatches panel (Swatches > Patterns > Basic Graphics > Basic Graphics_Dots) and select the 10DPI 20% pattern for this new fill. Set the Opacity to Soft Light.
Conclusion
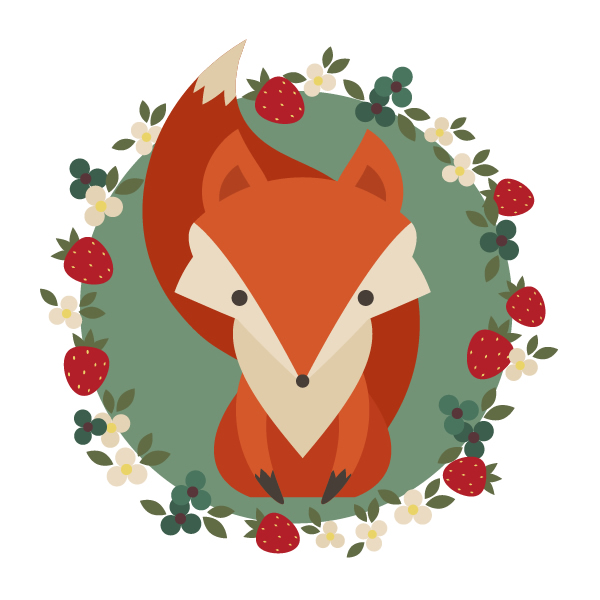
Congratulations,
your fox illustration is done! You see, it's not difficult. I hope you
found some useful tricks and have enjoyed this tutorial!
by , design.tutsplus.com